Lighting and Shadergraph
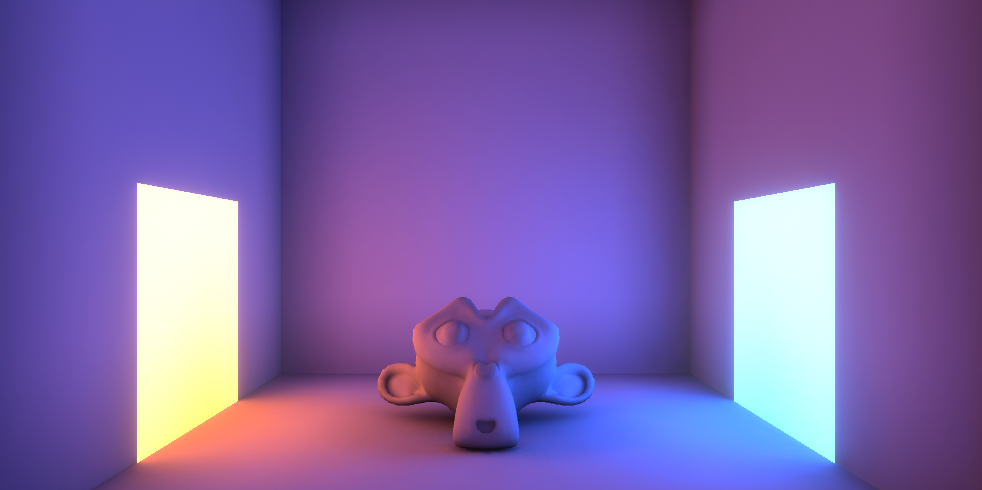
Monkey Lighting
The lights were made by creating materials with 'emission' enabled. Emission allows materials to give off light of a chosen colour and intensity. Ambient occlusion was added which adds softer shadows around objects to make the lighting more realistic. The lighting was then 'baked' meaning lightmaps for objects were created. Lightmaps effectively store the lighting as a texture and apply it over the top of objects. Finally, bloom was added which gives the lights a glow effect.

Tutorial reference -
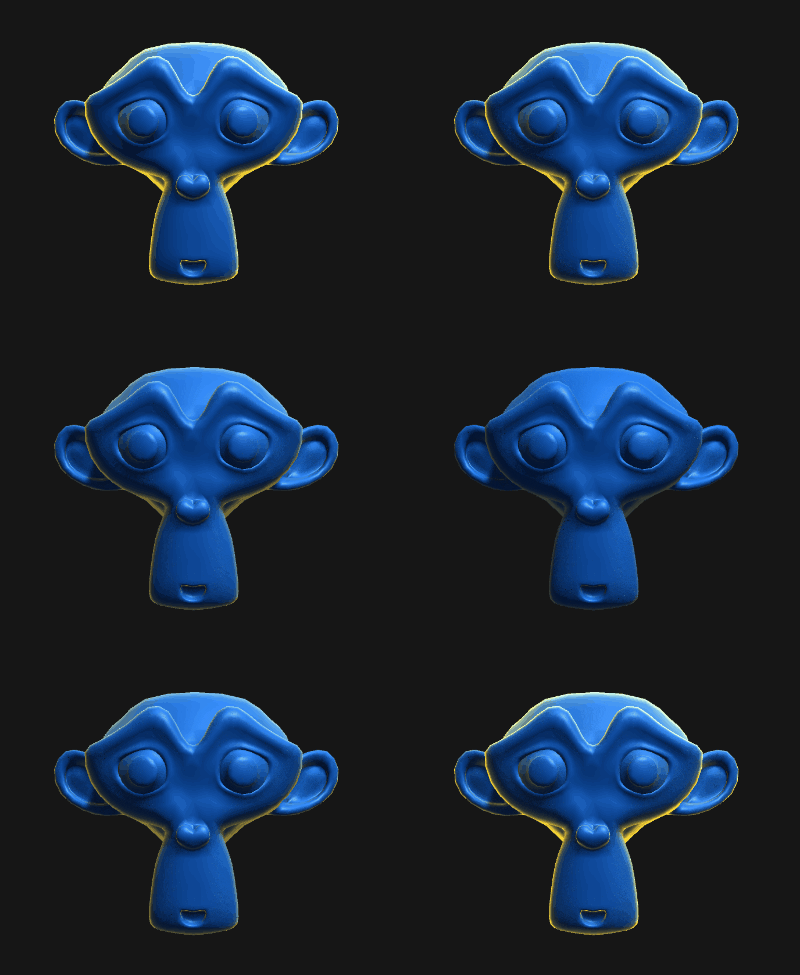
Monkey Shader
The shader was made by setting the base colour to blue. To make the highlight a 'fresnel effect' node was created. This makes the outer parts of a mesh different. This was then made into an orange colour by multiplying it with a 'color' node. Finally, it was made to change over time. This was put into the emission part of the shader, causing it to glow.

Tutorial reference -
Scene Lighting
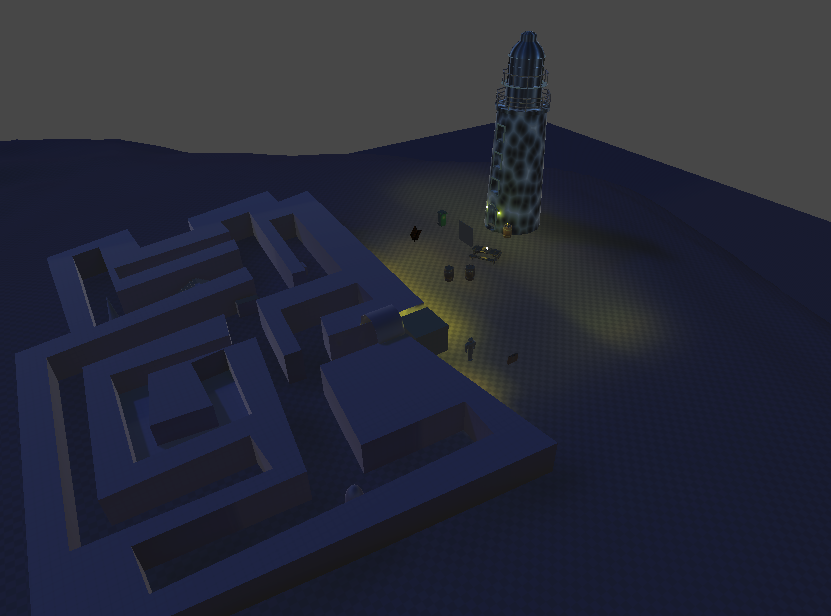
To make the scene lighting the directional light colour was changed into more of a blue. Additionally, a few yellow lights were added to the scene. Like before, the yellow lights were made by creating a material with 'emission' enabled followed by baking the lighting.
Before:

After:

Lighthouse Shader
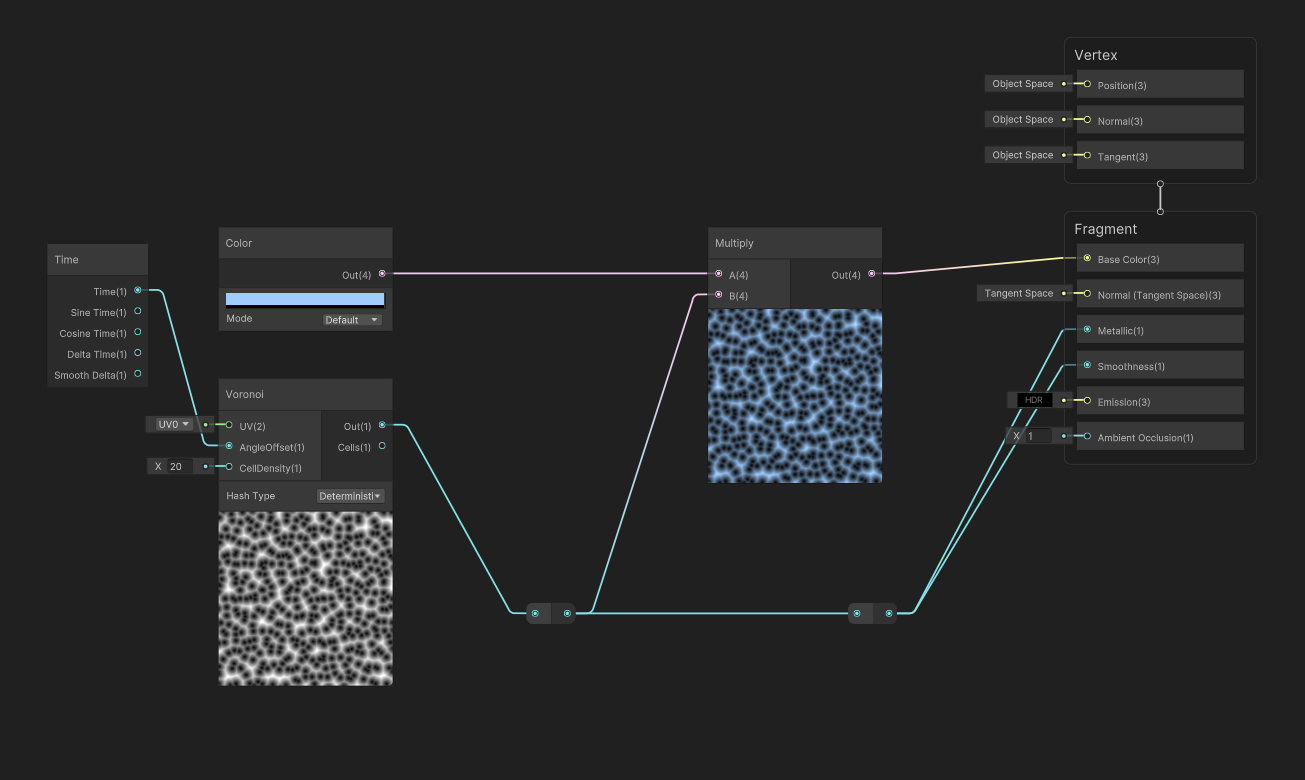
To make the lighthouse shader a voronoi texture node was created which changes over time. It effects the smoothness and how metallic the lighthouse is. Additionally, a blue colour was applied to the texture and made to be the base colour of the lighthouse.

Get UTAS KIT207 Portfolio
UTAS KIT207 Portfolio
| Status | Released |
| Author | Jordan Holloway |
More posts
- Post-Processing and CinemachineAug 31, 2023
- Simple Game and Game IdeasAug 08, 2023
- Terrain, Probuilder, Scripting and NavMeshAug 01, 2023
- Walking Animation and Waving AnimationJul 25, 2023
- Barrel, Tourist Site, and Simple SceneJul 18, 2023
Leave a comment
Log in with itch.io to leave a comment.